Enhancing Vulnerability Management with Microsoft Defender for Endpoint (finding the installation path of each software)

In the fast-paced digital world, strong vulnerability management is key to solid cybersecurity. Our goal is to equip organizations with top-notch tools and practices to protect their digital assets. Recently, customers have asked about locating the installation path of their vulnerable software in their setups. Using Microsoft Defender for Endpoint (MDE) and Microsoft Defender for Cloud, we can provide this information.

Installation Path Insights

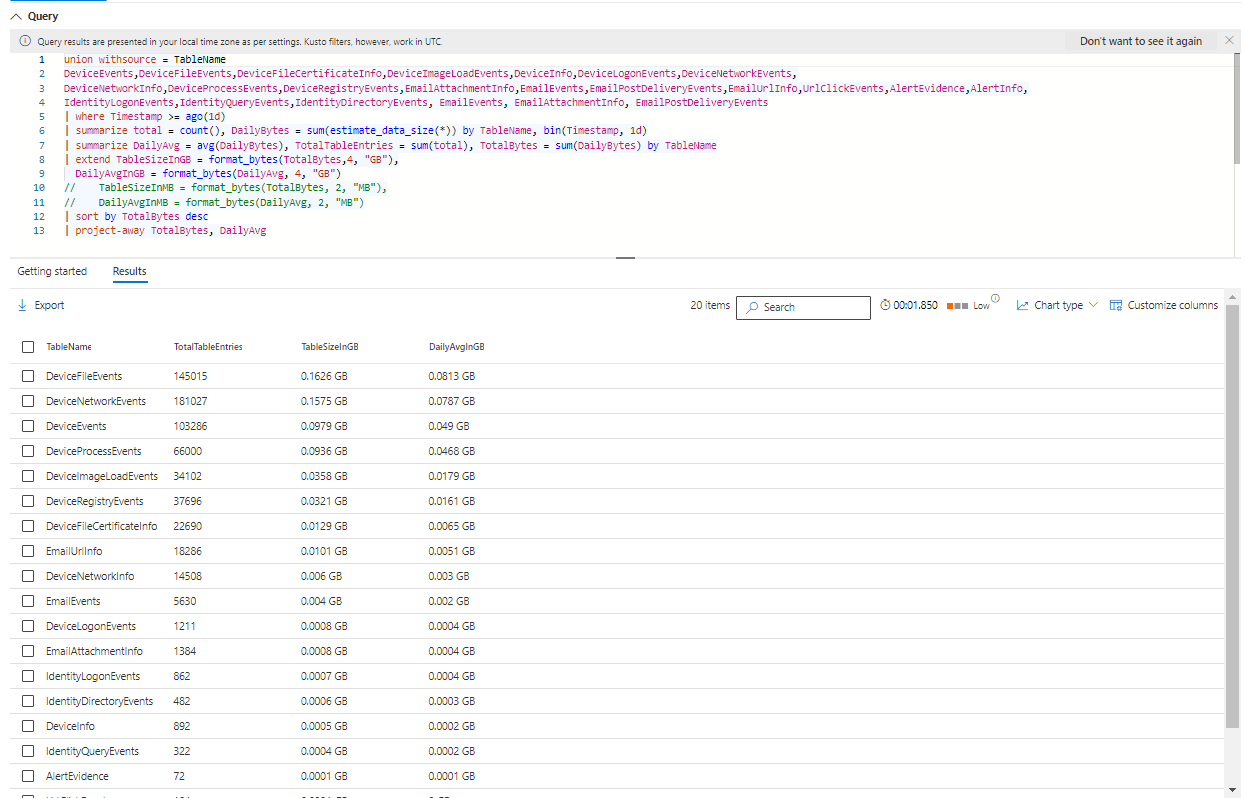
A crucial part of our vulnerability management is offering detailed insights into software installation paths. Microsoft Defender Vulnerability collects this data, which administrators can access via KQL (Kusto Query Language). For example, KQL queries can efficiently find paths for essential software like Chrome.exe. These queries help create thorough summaries for assessing and managing vulnerabilities.

Unified Data Capture

The insights are derived from data collected across all devices utilizing the existing MDE components implemented by our clients. This integrated method guarantees a consistent and thorough understanding of the software environment, allowing us to detect possible vulnerabilities more efficiently. The collected data is easily accessible for querying, giving our clients the ability to customize their vulnerability management strategies according to their unique requirements.

Defender for Cloud Integration

Besides MDE, all servers using Microsoft Defender for Cloud provide detailed insights in the console. This setup uses the same data and sensors as Defender for Endpoint but presents it in a more user-friendly way, improving clients’ capability to track and manage vulnerabilities across their IT systems.

Conclusion

By leveraging the power of Microsoft Defender for Endpoint and Microsoft Defender for Cloud, we empower our clients to proactively manage vulnerabilities and protect their digital assets.

Managing Duplicate Device Objects in Microsoft Defender for Endpoint (MDE)

When working with Microsoft Defender for Endpoint (MDE), it’s important to understand how certain actions can create duplicate device objects, which can clutter device inventory and hinder management efforts. This issue arises because MDE retains old device entries for 180 days, even when new entries for the same device are created due to changes in its configuration.

Here are the key scenarios where duplicate device entries can occur:

Scenarios That Lead to New Device Entries:

  1. Renaming a Device: Changing the name of a machine will result in a new entry being created in MDE while retaining the old entry.
  2. Workgroup Rename/Change/Join: If a machine moves from one workgroup to another, or is joined to a different workgroup, a new entry will appear.
  3. Domain Join: Joining a domain will trigger the creation of a new device entry.
  4. Changing Primary DNS Suffix: Modifying the DNS suffix also results in a new entry.

Recommendations for Autopilot Machines:

To avoid duplicate entries, it’s critical to reconsider the AutoPilot process for hybrid machines. Specifically, machines should be onboarded to MDE only after they have been renamed and assigned to the end-user. This ensures that the correct name and configuration are reflected in MDE from the start, preventing unnecessary duplicate device objects.

Recommendations for VDI Infrastructure:

In the case of VDI environments, handling duplicates requires different strategies depending on whether your VDI setup is non-persistent or persistent.

  • Non-Persistent VDI: For non-persistent VDIs, it’s essential that the organization follows the appropriate process to include the necessary scripts to prevent new device entries from being created each time a session spins up. Automation can be key here in minimizing duplicates as explain the Microsoft Docs
  • Persistent VDI: Persistent VDIs should be treated like regular machines. Onboarding to MDE should follow the same process as autopilot machines or any other workstation—ensuring they are renamed and assigned before being onboarded. This approach will prevent unnecessary duplicate entries.

Actions That Won’t Create Duplicate Device Entries:

Not all changes result in the creation of a new device object. The following actions are not expected to trigger new entries:

  • Updating the OS version (e.g., upgrading from Windows 10 version 20H1 to 21H2)
  • In-place upgrades (From Win10 to Win11)
  • Updating to the unified agent on older systems like Windows Server 2012r2 or 2016
  • Rolling back updates
  • Offboarding and re-onboarding a device within the 180-day retention period
  • Work or school account logins
  • MAC address changes
  • Restoring devices from snapshots

Conclusion:

By understanding the scenarios that cause duplicate device objects in Microsoft Defender for Endpoint, IT teams can optimize onboarding processes for autopilot and VDI environments. Taking the right steps to ensure machines are properly renamed, assigned, and onboarded after configuration changes will significantly reduce the clutter of duplicate device entries and improve overall device management within MDE.

Unveiling Insights with Microsoft Defender for Endpoint: Analyzing Daily Activity and Data Size

In the dynamic landscape of cybersecurity, staying ahead of potential threats requires a keen understanding of the data generated by security tools. Microsoft Defender for Endpoint stands as a stalwart guardian, offering robust protection against evolving risks. To harness the full potential of Defender for Endpoint, we turn our attention to the power of the Kusto Query Language (KQL). In this blog post, we embark on a journey through a comprehensive KQL script meticulously crafted for hunting and analyzing data within Defender for Endpoint. This script serves as a beacon, illuminating the path to unlocking valuable insights into daily activities and data sizes across diverse tables. Join us as we dissect each section of this script, revealing the intricacies that make it an indispensable asset in the arsenal of cybersecurity professionals.

Complete KQL Script

union withsource = TableName

DeviceEvents, DeviceFileEvents, DeviceFileCertificateInfo, DeviceImageLoadEvents, DeviceInfo, DeviceLogonEvents, DeviceNetworkEvents,
DeviceNetworkInfo, DeviceProcessEvents, DeviceRegistryEvents, EmailAttachmentInfo, EmailEvents, EmailPostDeliveryEvents, EmailUrlInfo, UrlClickEvents, AlertEvidence, AlertInfo,
IdentityLogonEvents, IdentityQueryEvents, IdentityDirectoryEvents, EmailEvents, EmailAttachmentInfo, EmailPostDeliveryEvents

| where Timestamp >= ago(1d)
| summarize total = count(), DailyBytes = sum(estimate_data_size(*)) by TableName, bin(Timestamp, 1d)
| summarize DailyAvg = avg(DailyBytes), TotalTableEntries = sum(total), TotalBytes = sum(DailyBytes) by TableName
| extend TableSizeInGB = format_bytes(TotalBytes,4, "GB"),
DailyAvgInGB = format_bytes(DailyAvg, 4, "GB")
// TableSizeInMB = format_bytes(TotalBytes, 2, "MB"),
// DailyAvgInMB = format_bytes(DailyAvg, 2, "MB")
| sort by TotalBytes desc
| project-away TotalBytes, DailyAvg
  • Union Operation:
    • In this section, we use the union operator to combine data from multiple tables. The withsource option adds a column named TableName to identify the source table for each record.
  • Filtering by Timestamp:
    • This line filters the records based on the Timestamp field, selecting only those that occurred within the last 1 day (ago(1d)).
  • Summarization:
    • The summarize statement calculates the total count and daily sum of estimated data size for each table. The results are aggregated by TableName and binned Timestamp into 1-day intervals.
  • Further Summarization:
    • Another summarize statement further aggregates the data, calculating the average daily bytes (DailyAvg), total table entries (TotalTableEntries), and total bytes (TotalBytes) for each table.
  • Extension with Size Formatting:
    • The extend statement adds new columns to the result, formatting the total bytes and daily average bytes into gigabytes.
  • Sorting and Projecting:
    • The sort statement arranges the results in descending order based on total bytes (TotalBytes). The project-away statement removes unnecessary columns (TotalBytes and DailyAvg) from the final output.

Conclusion:

By delving into the intricacies of this KQL script, we’ve uncovered a powerful approach to extracting valuable insights from Defender for Endpoint data. This script not only aggregates and summarizes data but also formats it for easy interpretation. Incorporate this script into your security analysis toolkit to gain a comprehensive understanding of daily activities and data sizes, empowering you to make informed decisions to enhance your organization’s cybersecurity posture.